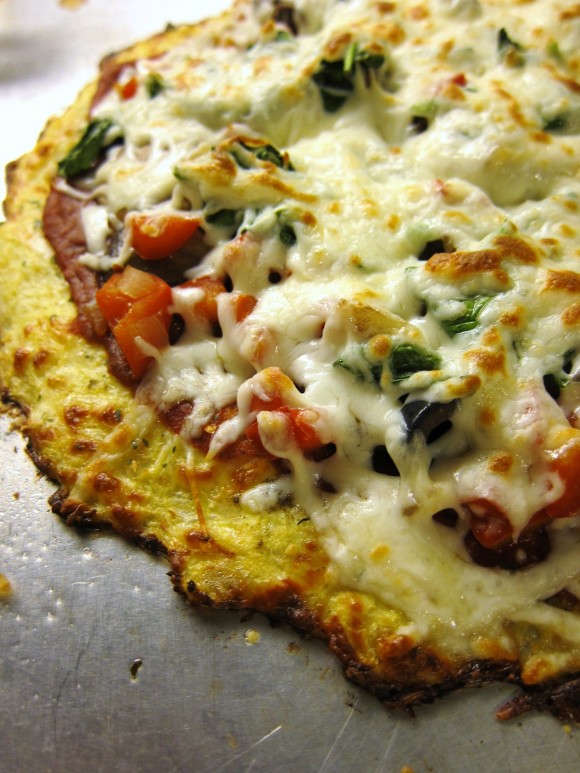
cauliflower crust pizza
Serves 2; Adapted from Your Lighter Side.ingredients:
1 cup cooked, riced cauliflower
1 cup shredded mozzarella cheese
1 egg, beaten
1 tsp dried oregano
1/2 tsp crushed garlic
1/2 tsp garlic salt
olive oil (optional)pizza sauce, shredded cheese and your choice of toppings*directions:
To "Rice" the Cauliflower:
Take 1 large head of fresh cauliflower, remove stems and leaves, and chop the florets into chunks. Add to food processor and pulse until it looks like grain. Do not over-do pulse or you will puree it. (If you don't have a food processor, you can grate the whole head with a cheese grater). Place the riced cauliflower into a microwave safe bowl and microwave for 8 minutes (some microwaves are more powerful than others, so you may need to reduce this cooking time). There is no need to add water, as the natural moisture in the cauliflower is enough to cook itself.One large head should produce approximately 3 cups of riced cauliflower. The remainder can be used to make additional pizza crusts immediately, or can be stored in the refrigerator for up to one week.To Make the Pizza Crust:Preheat oven to 450 degrees. Spray a cookie sheet with non-stick cooking spray.In a medium bowl, stir together 1 cup cauliflower, egg and mozzarella. Add oregano, crushed garlic and garlic salt, stir. Transfer to the cookie sheet, and using your hands, pat out into a 9" round. Optional: Brush olive oil over top of mixture to help with browning.Bake at 450 degrees for 15 minutes.Remove from oven. To the crust, add sauce, toppings and cheese. Place under a broiler at high heat just until cheese is melted (approximately 3-4 minutes).Enjoy!*Note that toppings need to be precooked since you are only broiling for a few minutes.
Note for those that don’ t have a microwave:
You can steam the florets on the stove before ricing them. The texture/consistency won’t be the same (It will be more like a puree) but it still works fine once you mix all the ingredients together! I know because I’ve tried it that way too!

source: http://www.eat-drink-smile.com/


